
Générateur d’image suivante
Générez l’image suivante d’une scène à partir d’une image initiale et d’une courte description. Un LLM transforme votre note en prompt de retouche précis, puis un modèle image-vers-image produit une image suivante au style cohérent.
Aucune configuration requise · Entièrement personnalisable dans AI-Flow
Ce que fait cette application
Générateur d’image suivante est un outil d’image axé sur la continuité, qui prolonge une scène étape par étape. Fournissez une image de départ, décrivez brièvement ce qui se passe ensuite, et joignez éventuellement des images de référence pour les nouveaux éléments. Le système convertit votre note en un prompt concis et de qualité production, puis retouche l’image d’origine afin que l’éclairage, le style, la composition et l’allure générale restent cohérents.
En coulisses, un LLM applique les bonnes pratiques de prompt image pour se concentrer sur la nouvelle action ou position du sujet, les changements subtils d’expression ou de pose, la façon dont les objets référencés doivent apparaître, et ce qui doit rester inchangé (éclairage, décor, style). Un modèle image-vers-image produit ensuite une image suivante propre et cohérente, qui semble être la continuation naturelle de votre séquence.
Workflow type
- 1
Téléversez l’image de départ (le plan à prolonger).
- 2
Ajoutez éventuellement des images de référence pour de nouveaux accessoires, vêtements, écrans d’interface ou éléments de décor.
- 3
Décrivez en une ou deux phrases ce qui se passe ensuite.
- 4
Générez et itérez. Réinjectez le résultat pour construire des storyboards de plusieurs images, des séquences sociales, des lookbooks ou des tutoriels pas à pas.
Ce template est idéal lorsque vous avez besoin d’une continuité de scène fiable : storyboards et animatiques, bandes dessinées et art séquentiel, séries produit ou mode cohérentes, tutoriels pas à pas, ou variantes publicitaires où le sujet bouge mais le style reste figé. Il privilégie la clarté, les formulations positives et un minimum de changements par étape, ce qui vous aide à itérer plus vite tout en préservant l’identité, l’éclairage et l’ambiance.
Comment utiliser l’application
Voici ce que vous obtenez en ouvrant l’application : un formulaire court, un bouton d’exécution et vos résultats, sans nœuds ni configuration.
Image suivante
Aperçu de l’applicationRemplissez le formulaire
What Happens Next
She starts putting on her earrings. She has moved slightly to the right.
Start Frame
RequisAjouter des images ou des fichiers
Optional References
FacultatifAjouter des images ou des fichiers
≈ 11–35 crédits / exécution
Récupérez votre résultat
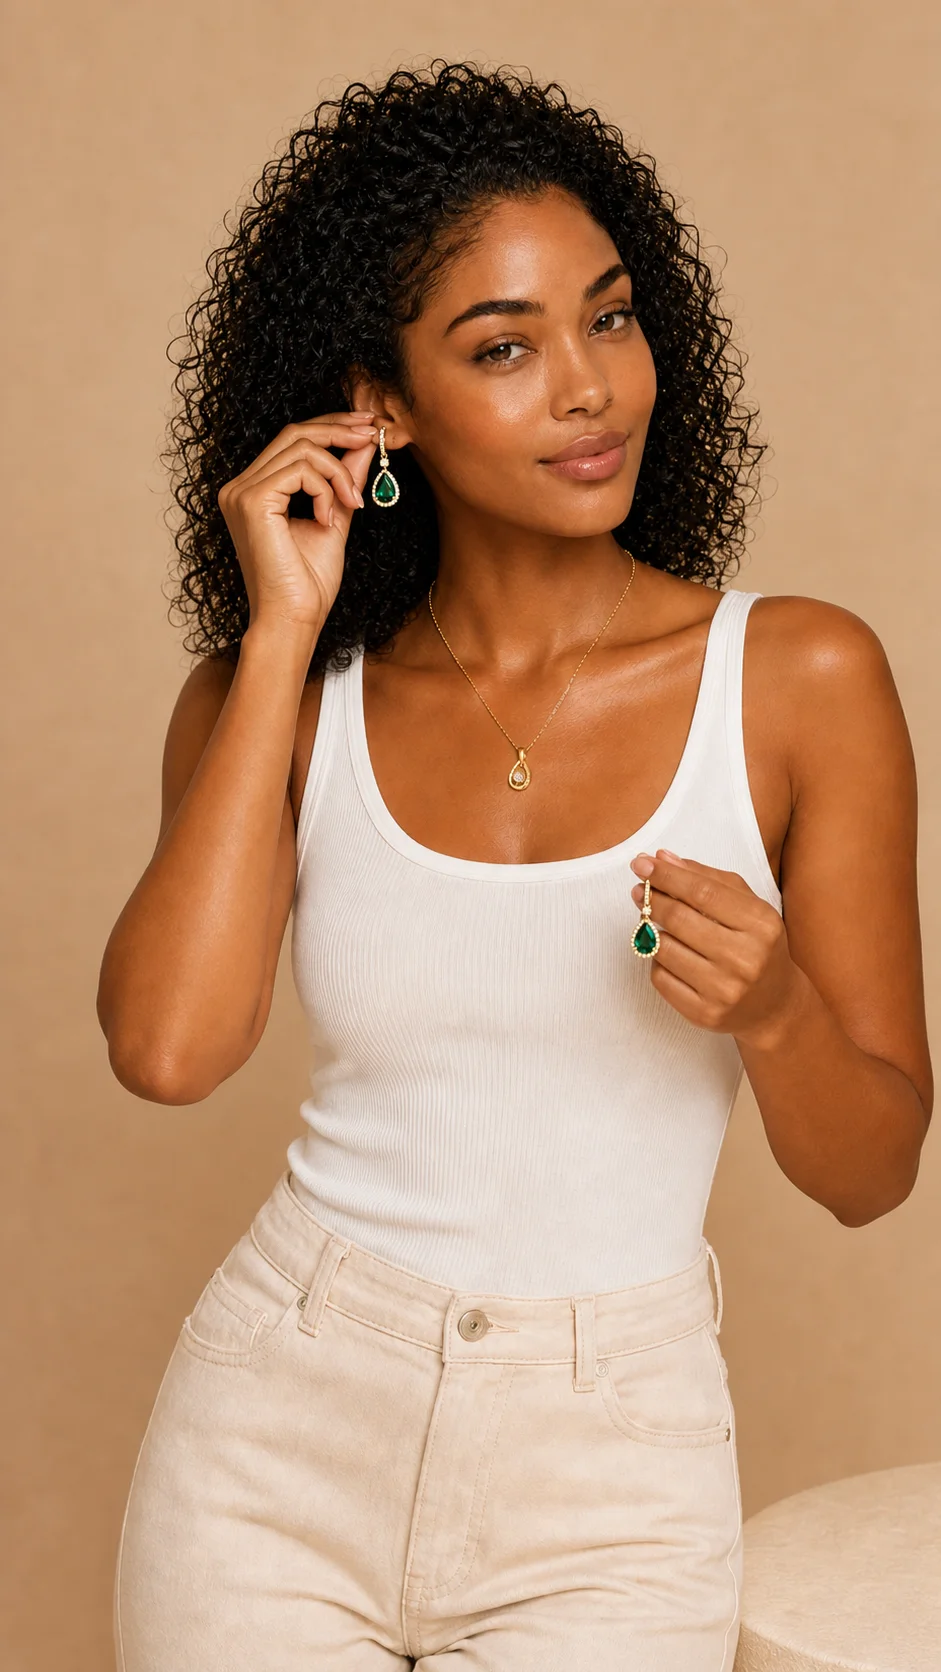
Résultat réel généré avec cette application
Sous le capot
Vous souhaitez plus de contrôle ?
Cette application repose sur un workflow AI-Flow entièrement modifiable. Changez le modèle, les prompts, la disposition ou la résolution, ou connectez-le à d’autres étapes.
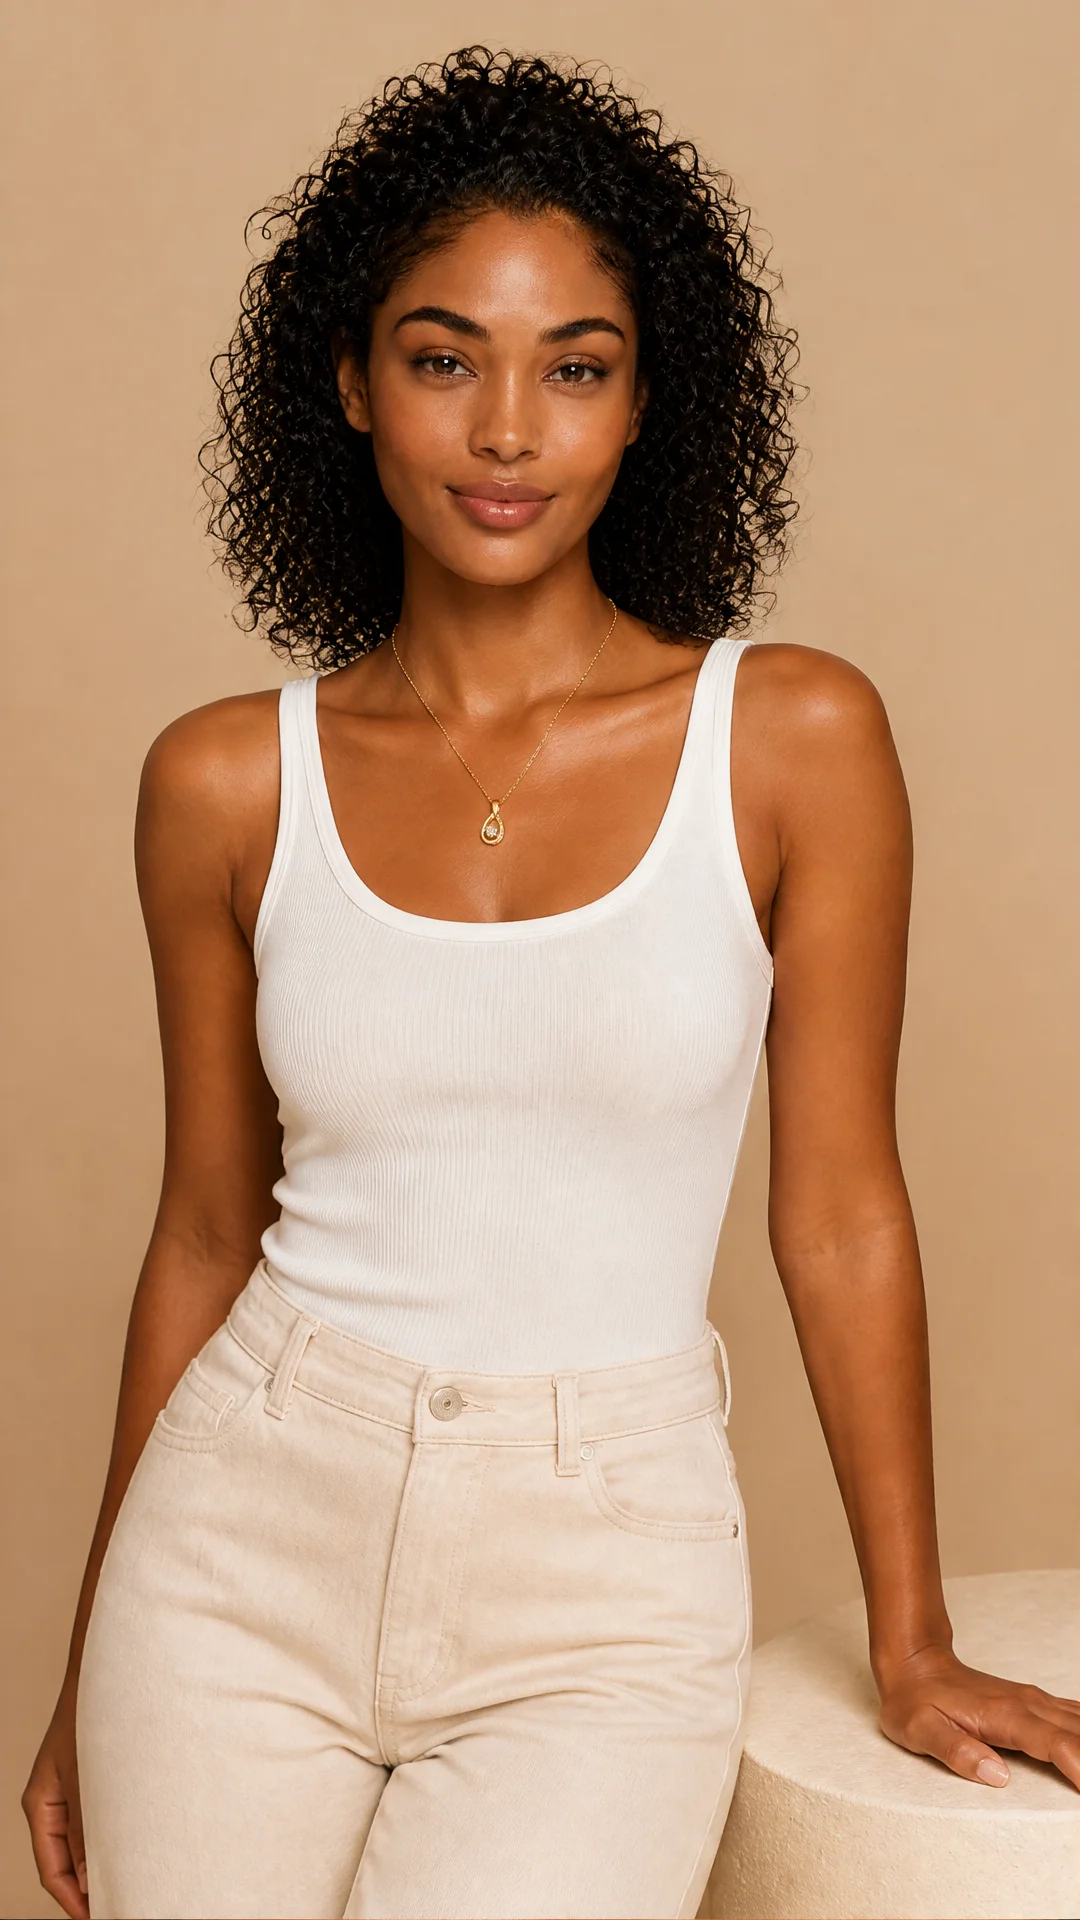
Start Frame
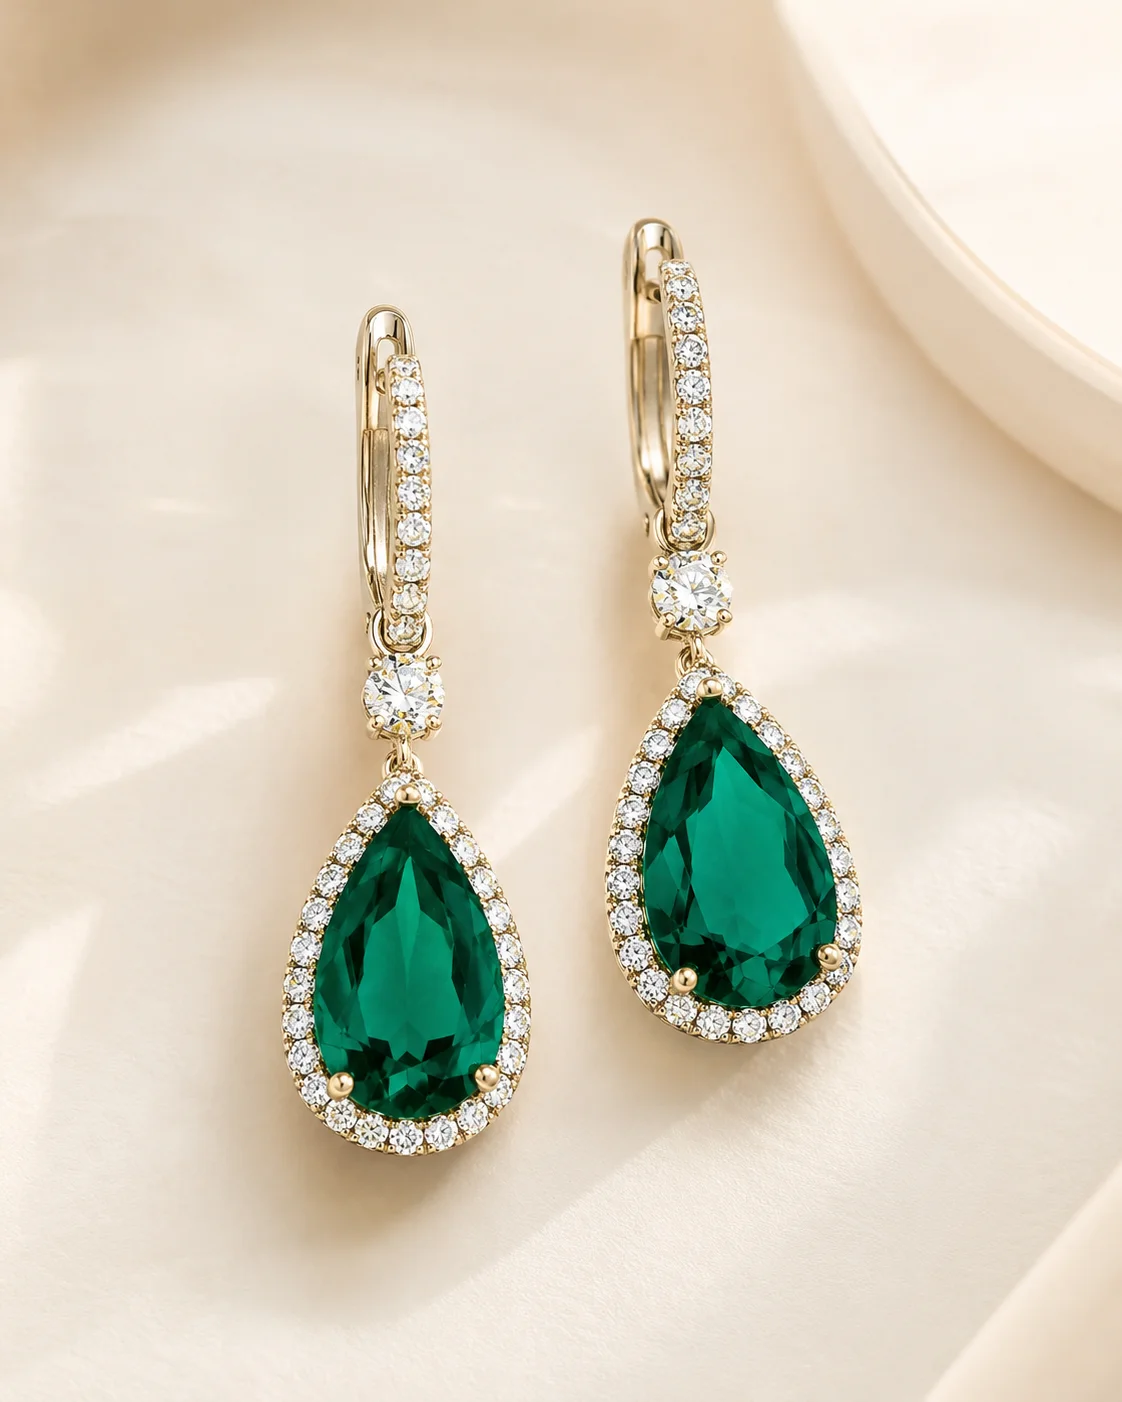
Optional References
System Prompt
You receive a description of what should happen in the next frame of a scene and optionally a list of reference images of new elements that appear. Expand it into a concise image generation prompt. Cover: - What the subject is doing or how they have moved -...
Image Prompting Guidelines
Key prompt-building principles: Build prompts like clear creative briefs, not keyword lists. Start with a strong action verb that tells the model what to do, then specify the subject, action, context, composition, style, lighting, camera perspective, lens/f...
What Happens Next
She starts putting on her earrings. She has moved slightly to the right.
List – Merge List
Text
Image Prompting Guidelines : Key prompt-building principles: Build prompts like clear creative briefs, not keyword lists. Start with a strong action verb that tells the model what to do, then specify the subject, action, context, composition, style, lightin...
GPT
Create the next frame as a warm studio portrait: the same woman in the white ribbed tank top, cream high-waisted jeans, gold pendant necklace, curly black hair, and soft beige backdrop has shifted slightly to the right of the frame. She is beginning to put ...
GPT Image – Edit
Comment utiliser ce template
Étape 1 : Saisissez votre texte dans le nœud « What Happens Next »
Renseignez le nœud « What Happens Next » avec le texte demandé.
She starts putting on her earrings. She has moved slightly to the right.
Étape 2 : Saisissez votre texte dans le nœud « Image Prompting Guidelines »
Renseignez le nœud « Image Prompting Guidelines » avec le texte demandé.
Key prompt-building principles: Build prompts like clear creative briefs, not keyword lists. Start with a strong action verb that tells the model what to do, then specify the subject, action, context, composition, style, lighting, camera perspective, lens/focus, color treatment, materials, and any exact text that must appear. Use positive framing by describing what should be present rather than what should be avoided. When using reference images, explain the relationship between each reference and the desired output. For edits, clearly state what should change and what must remain unchanged. For text rendering, put exact words in quotes and specify typography, font style, language, and layout. Iterate conversationally, refining one or two elements at a time until the result matches the intent.
Étape 3 : Saisissez votre texte dans le nœud « System Prompt »
Renseignez le nœud « System Prompt » avec le texte demandé.
You receive a description of what should happen in the next frame of a scene and optionally a list of reference images of new elements that appear.
Expand it into a concise image generation prompt. Cover:
  - What the subject is doing or how they have moved
  - Any change in expression, pose, or position
 - Each new element from the reference images — describe it briefly and how it appears or interacts in the scene
  - What stays the same (lighting, setting, style)


Output the prompt only.
Étape 4 : Importez votre fichier
Dans le nœud « Start Frame », importez le fichier que vous souhaitez traiter.
Étape 5 : Importez vos fichiers
Dans le nœud « Optional References », importez les fichiers que vous souhaitez utiliser dans le workflow.
Étape 6 : Exécutez le workflow
Cliquez sur le bouton « Exécuter » pour lancer le workflow et obtenir le résultat final.
Personnalisez le workflow sous-jacent
Ouvrez le workflow complet dans l’éditeur AI-Flow pour changer de modèle, réécrire les prompts ou le connecter à d’autres étapes.
À qui s’adresse ce template ?
Idéal pour les professionnels et les créateurs qui souhaitent simplifier leur workflow
Storyboardeurs et équipes de pré-visualisation
Créez une continuité de plan à plan pour vos pitchs, animatiques et découpages, sans reconstruire chaque image de zéro.
Créateurs de bandes dessinées et d’art séquentiel
Faites avancer vos cases avec des personnages, des angles et un éclairage cohérents, en modifiant progressivement pose, expression et action.
Équipes mode, produit et e-commerce
Produisez des variantes cohérentes — nouvelle pose, accessoire ajouté, interaction produit — tout en préservant le style et l’éclairage studio.
Marketeurs et créateurs de contenu social
Montez rapidement des récits en plusieurs images, des variantes A/B et des étapes de tutoriel qui semblent issus d’un même shooting.
Rédacteurs UX, designers produit et enseignants
Illustrez des parcours pas à pas, des écrans d’onboarding ou des installations matérielles avec un contexte visuel stable, tout en introduisant de nouveaux éléments.
Réalisateurs indépendants et motion designers
Explorez la mise en place, la continuité et le développement d’un look pour vos scènes et transitions avant de vous engager en production.
Prêt à créer ?
Commencez à utiliser cette application
Aucune configuration requise — ouvrez l’application et commencez à créer en quelques minutes
Vous aimerez peut-être aussi
Explorez d’autres templates puissants pour enrichir votre workflow IA
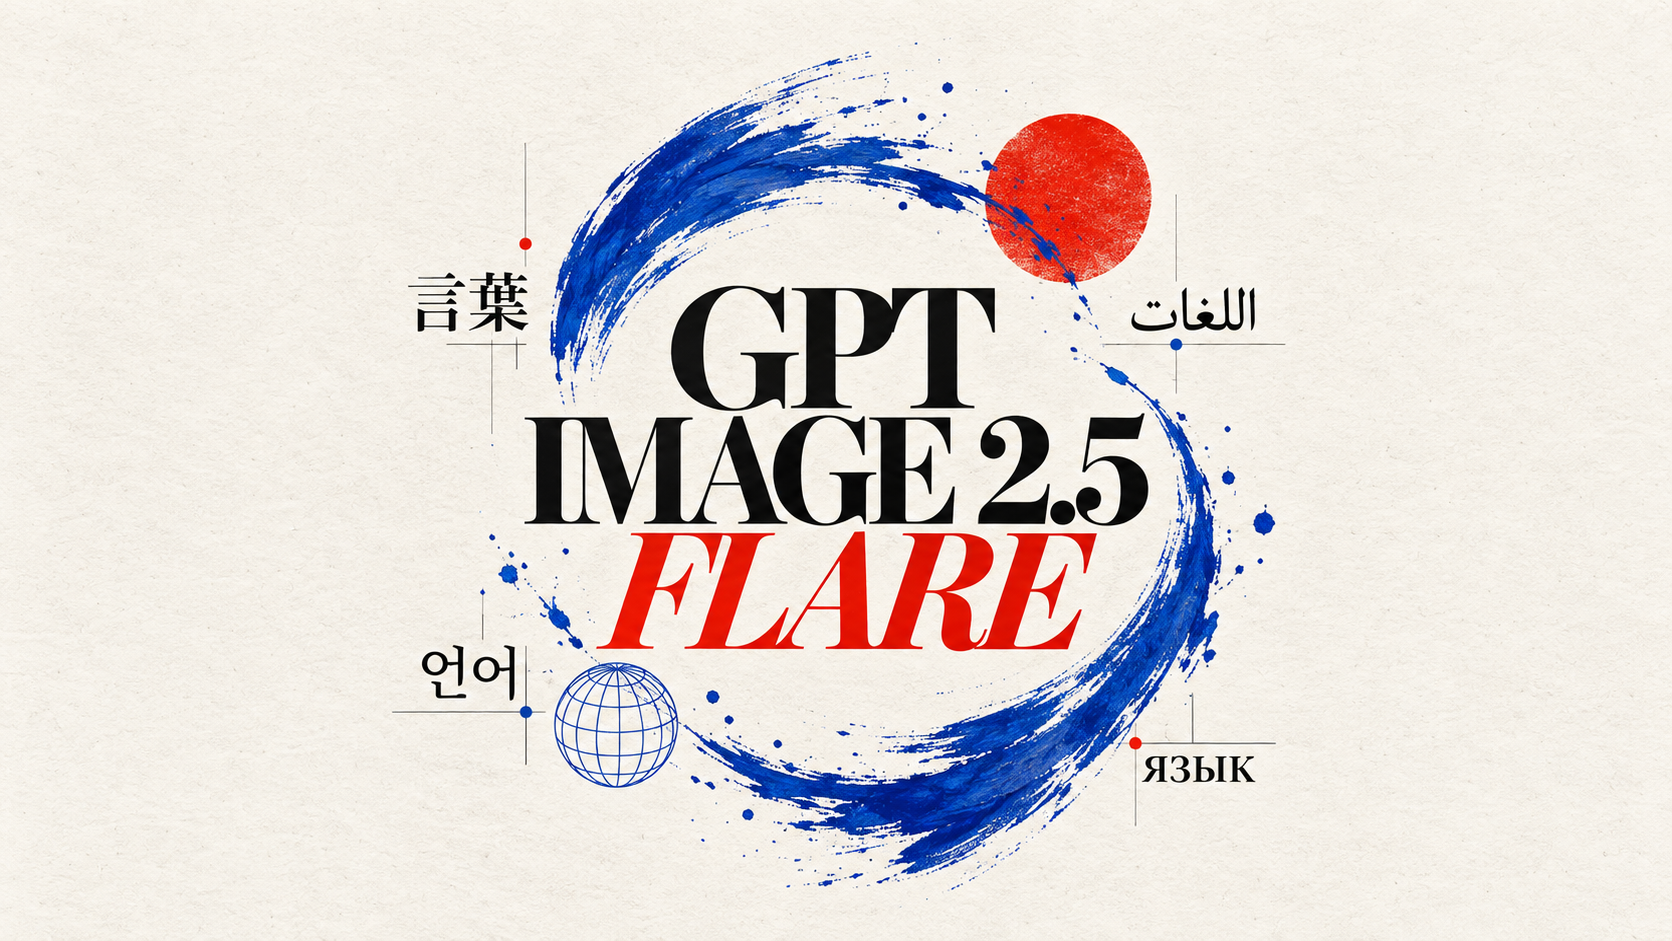
Génération d’images avec GPT Image 2.5 Flare
Générez des images haute fidélité avec GPT Image 2.5 Flare, optimisé pour la typographie réaliste, les écritures multilingues, les mises en page structurées et les formats prêts à imprimer jusqu’en 4K, pour affiches, bandes dessinées, marketing, maquettes UI et réseaux sociaux.
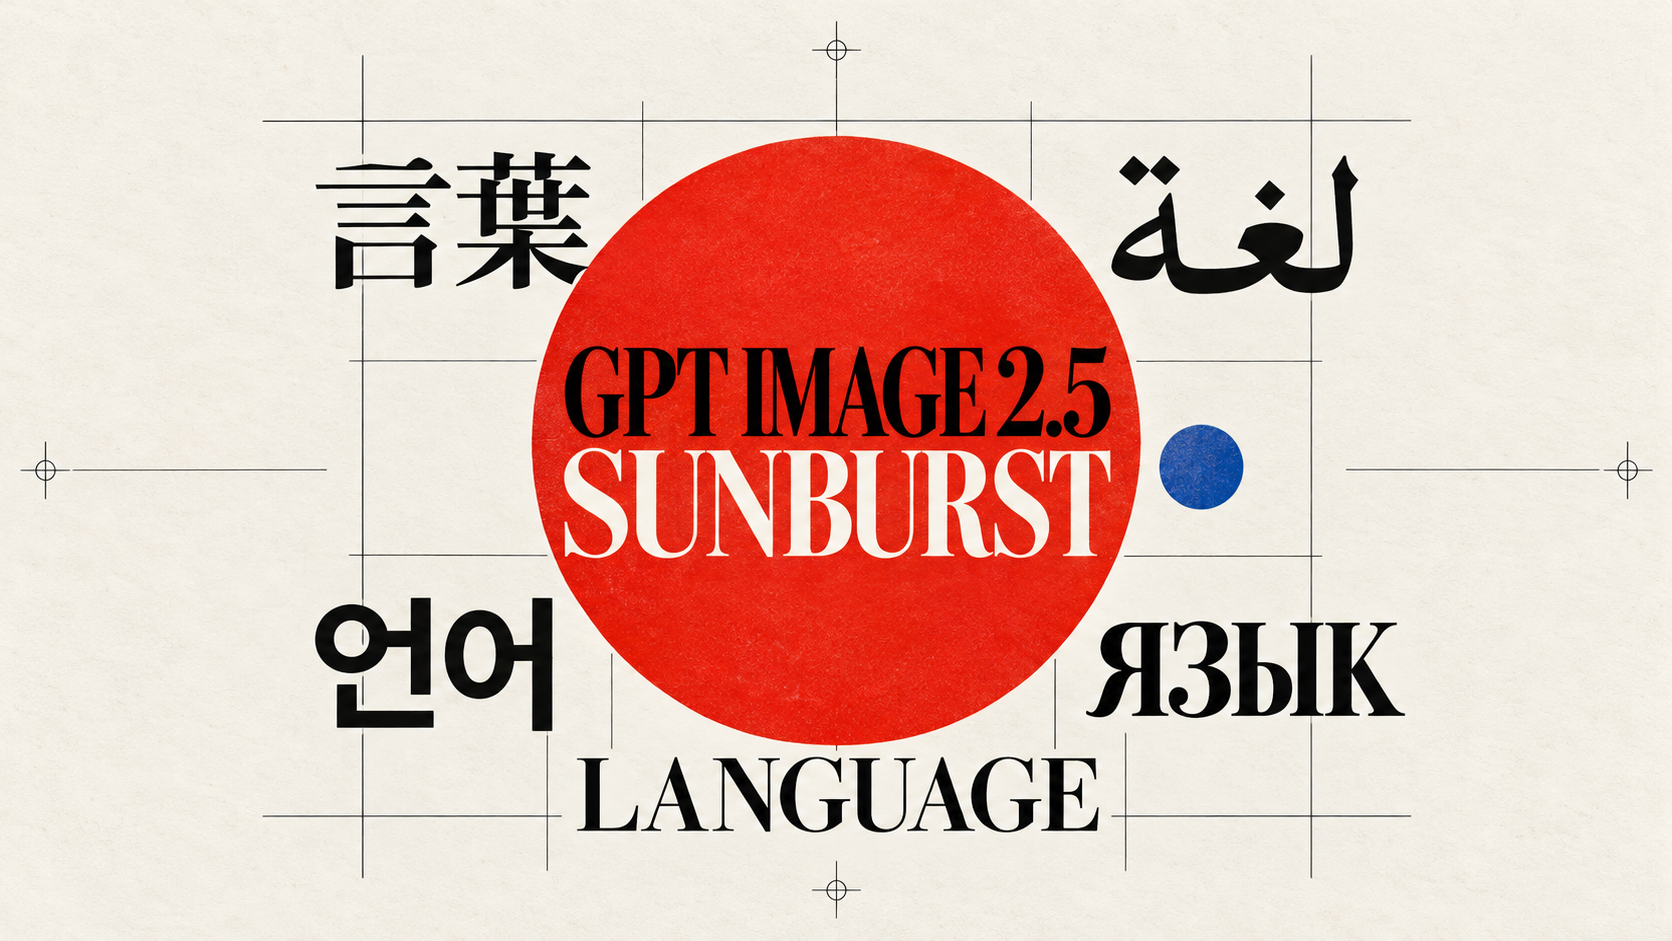
Génération d’images avec GPT Image 2.5 Sunburst
Générez des images haute fidélité avec GPT Image 2.5 Sunburst, optimisé pour la typographie réaliste, les écritures multilingues, les mises en page structurées et les formats prêts à imprimer jusqu’en 4K, pour affiches, bandes dessinées, marketing, maquettes UI et réseaux sociaux.
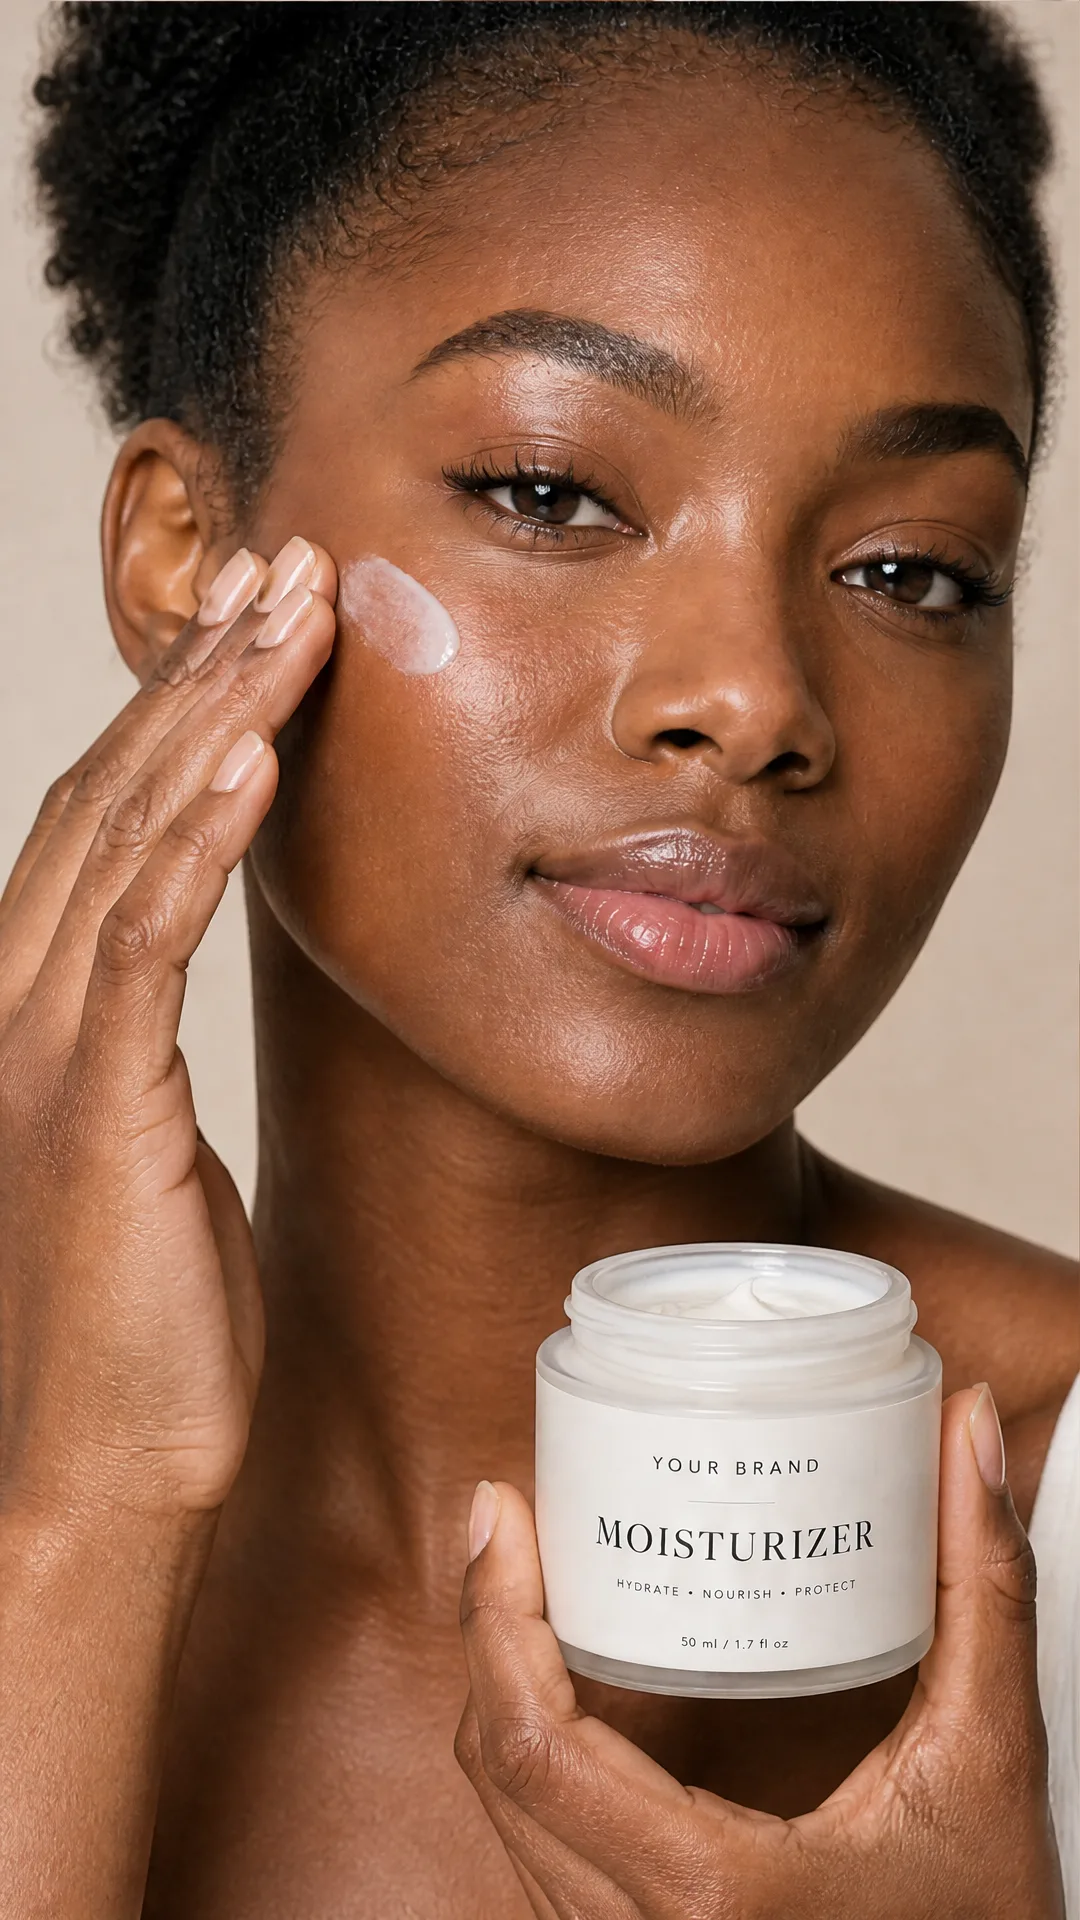
Générateur IA de photos produit de soin
Transformez une seule image de crème, de sérum ou de pot cosmétique en shooting complet : une grille 2 × 2 et quatre visuels recadrés (plan large, plan moyen, gros plan, angle créatif), porté ou produit seul, pour l'e-commerce beauté, les marketplaces et la publicité.
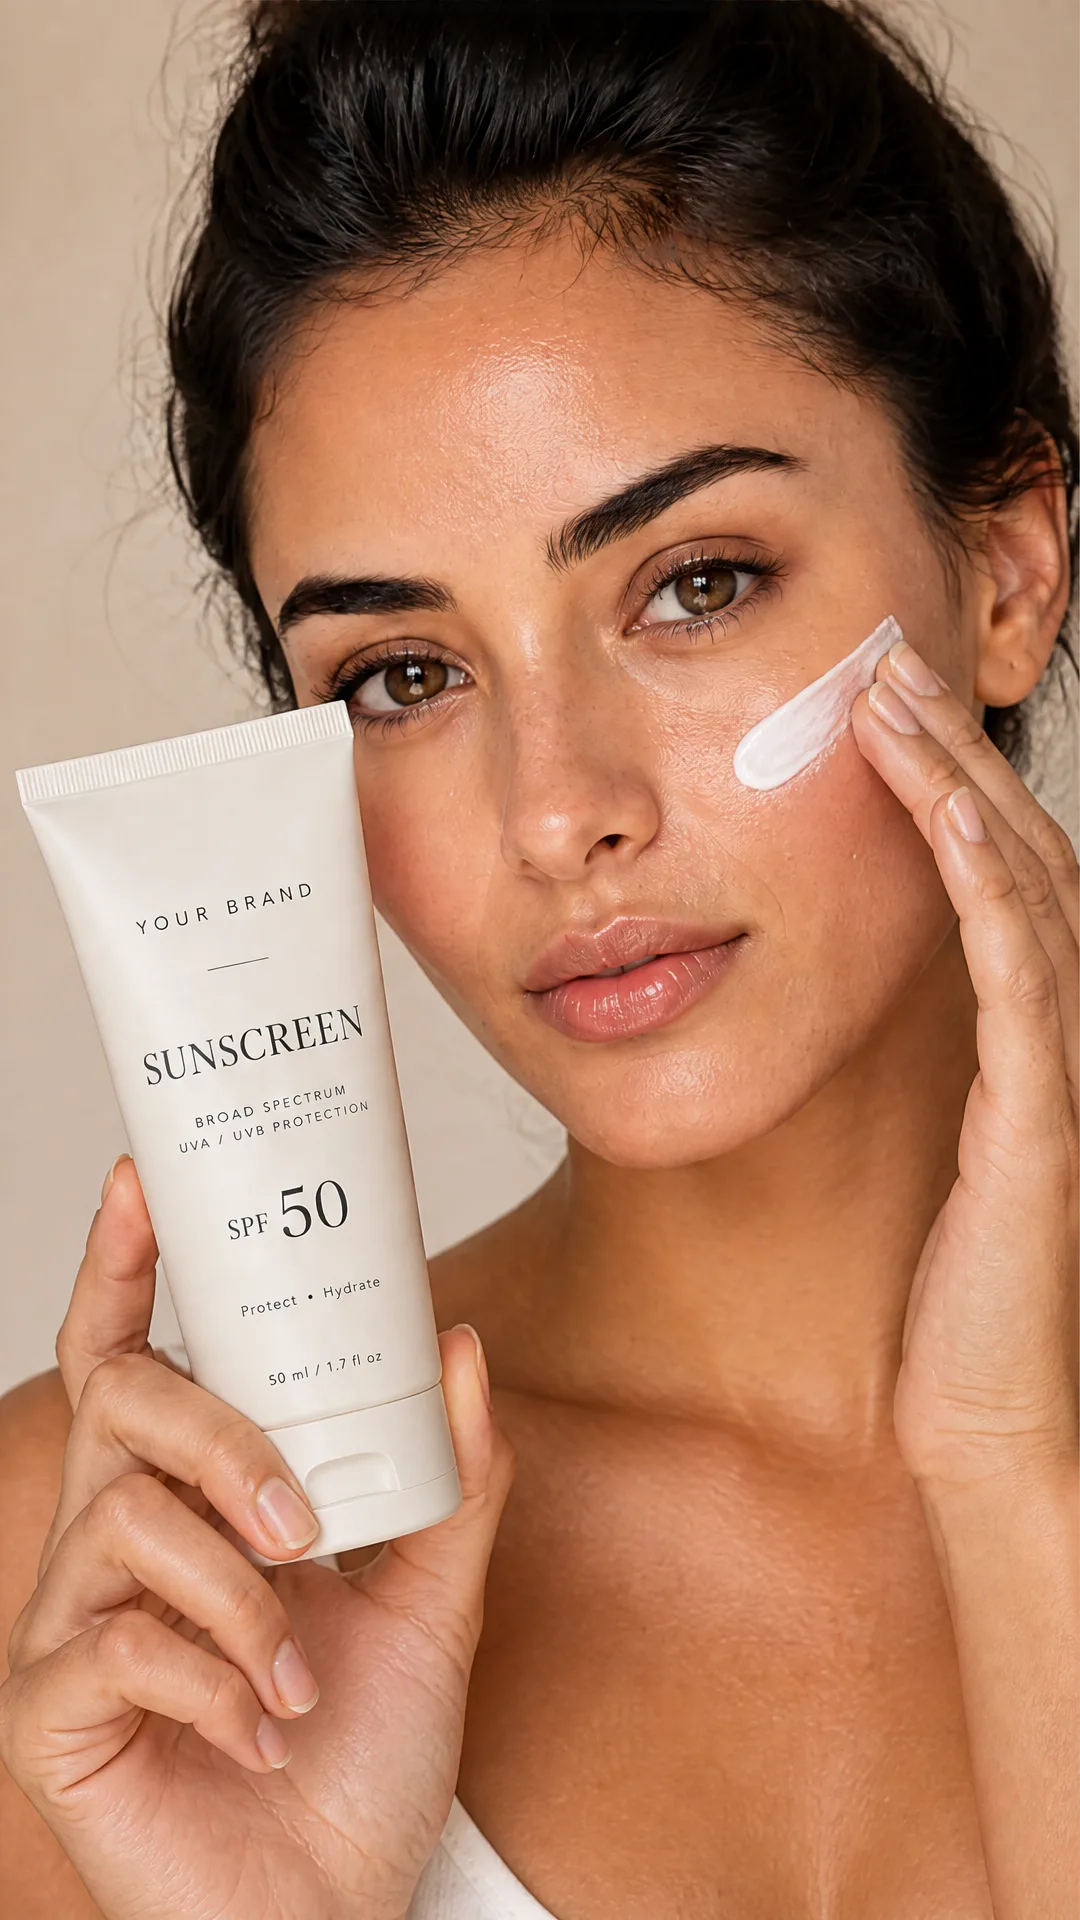
Générateur IA de photos produit de crème solaire
Transformez une seule image de tube ou de flacon solaire en shooting complet : une grille 2 × 2 et quatre visuels recadrés (plan large, plan moyen, gros plan, angle créatif), porté ou produit seul, pour l'e-commerce beauté, les marketplaces et la publicité.
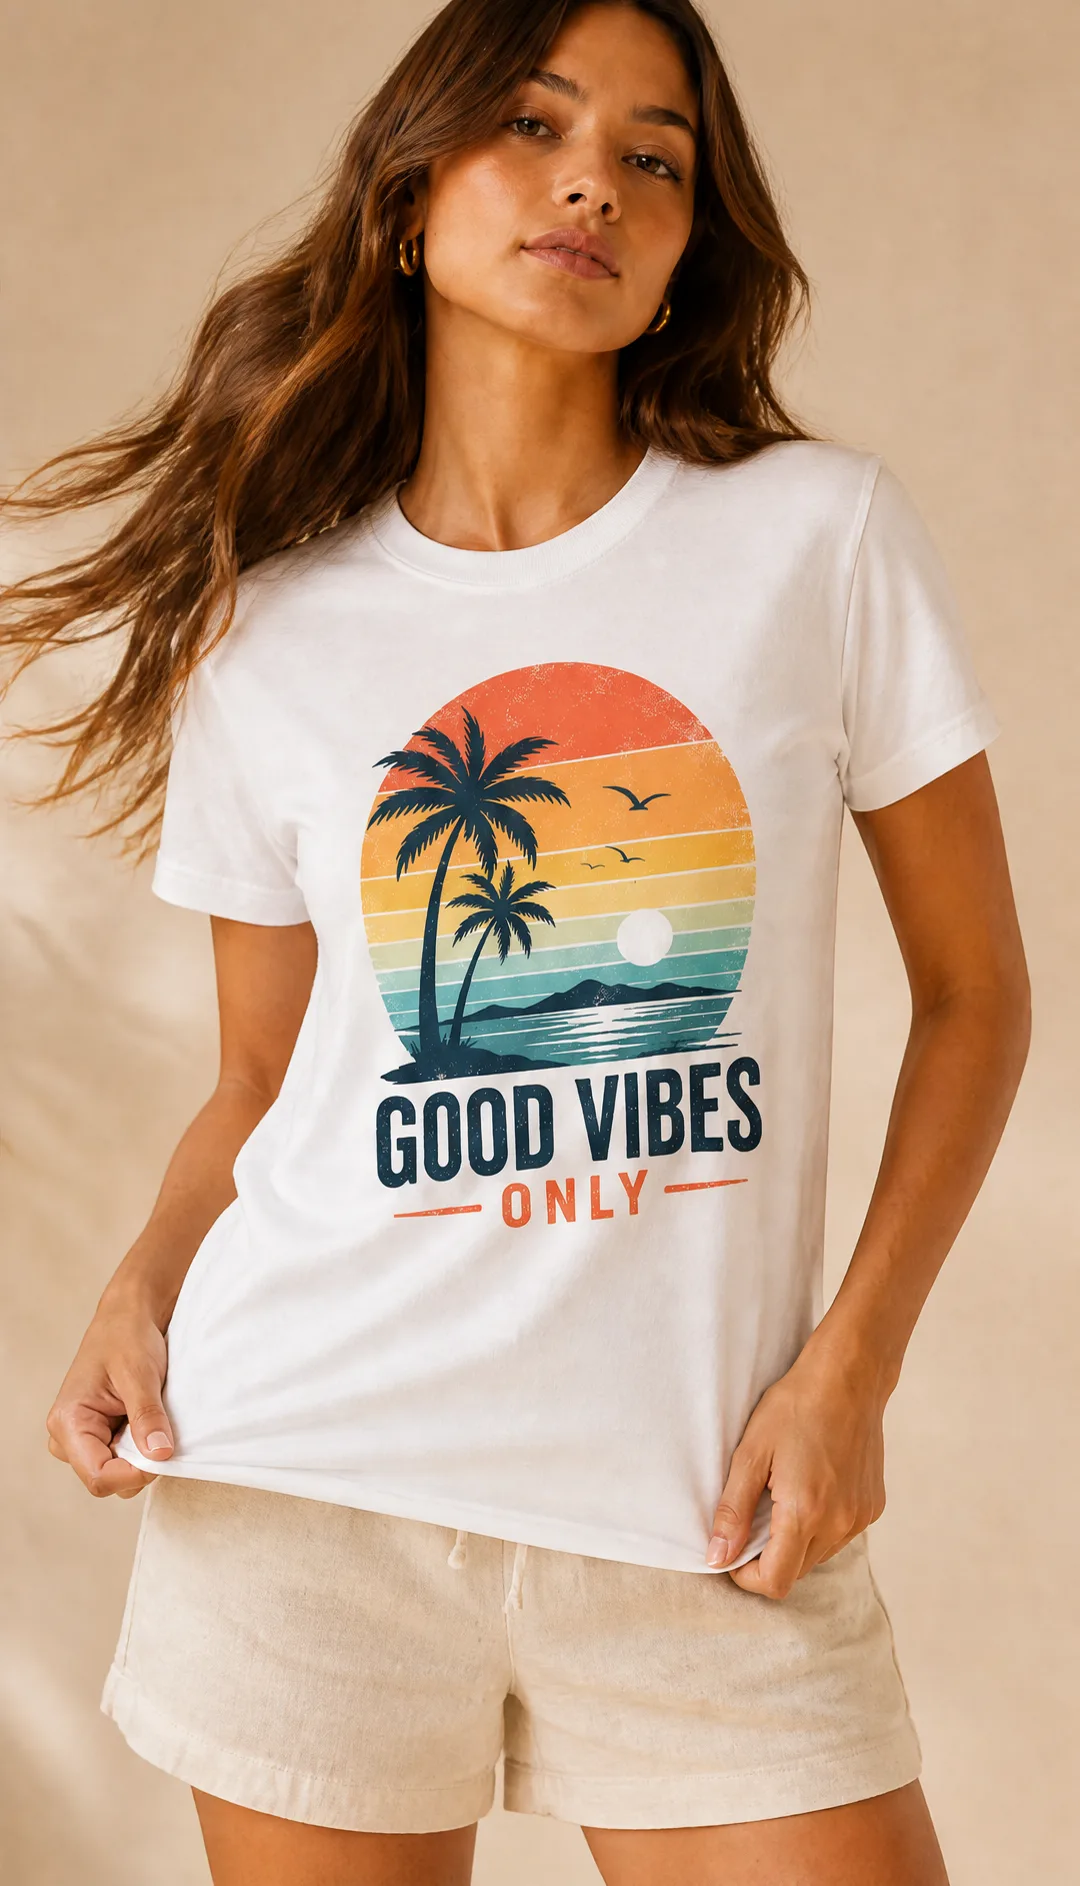
Générateur IA de mockups de t-shirts
Transformez une seule image de t-shirt en mockups print-on-demand portés : une grille 2 × 2 et quatre visuels recadrés (plan large, plan moyen, gros plan sur l'impression, angle créatif), pour Etsy, Shopify et vos boutiques POD.
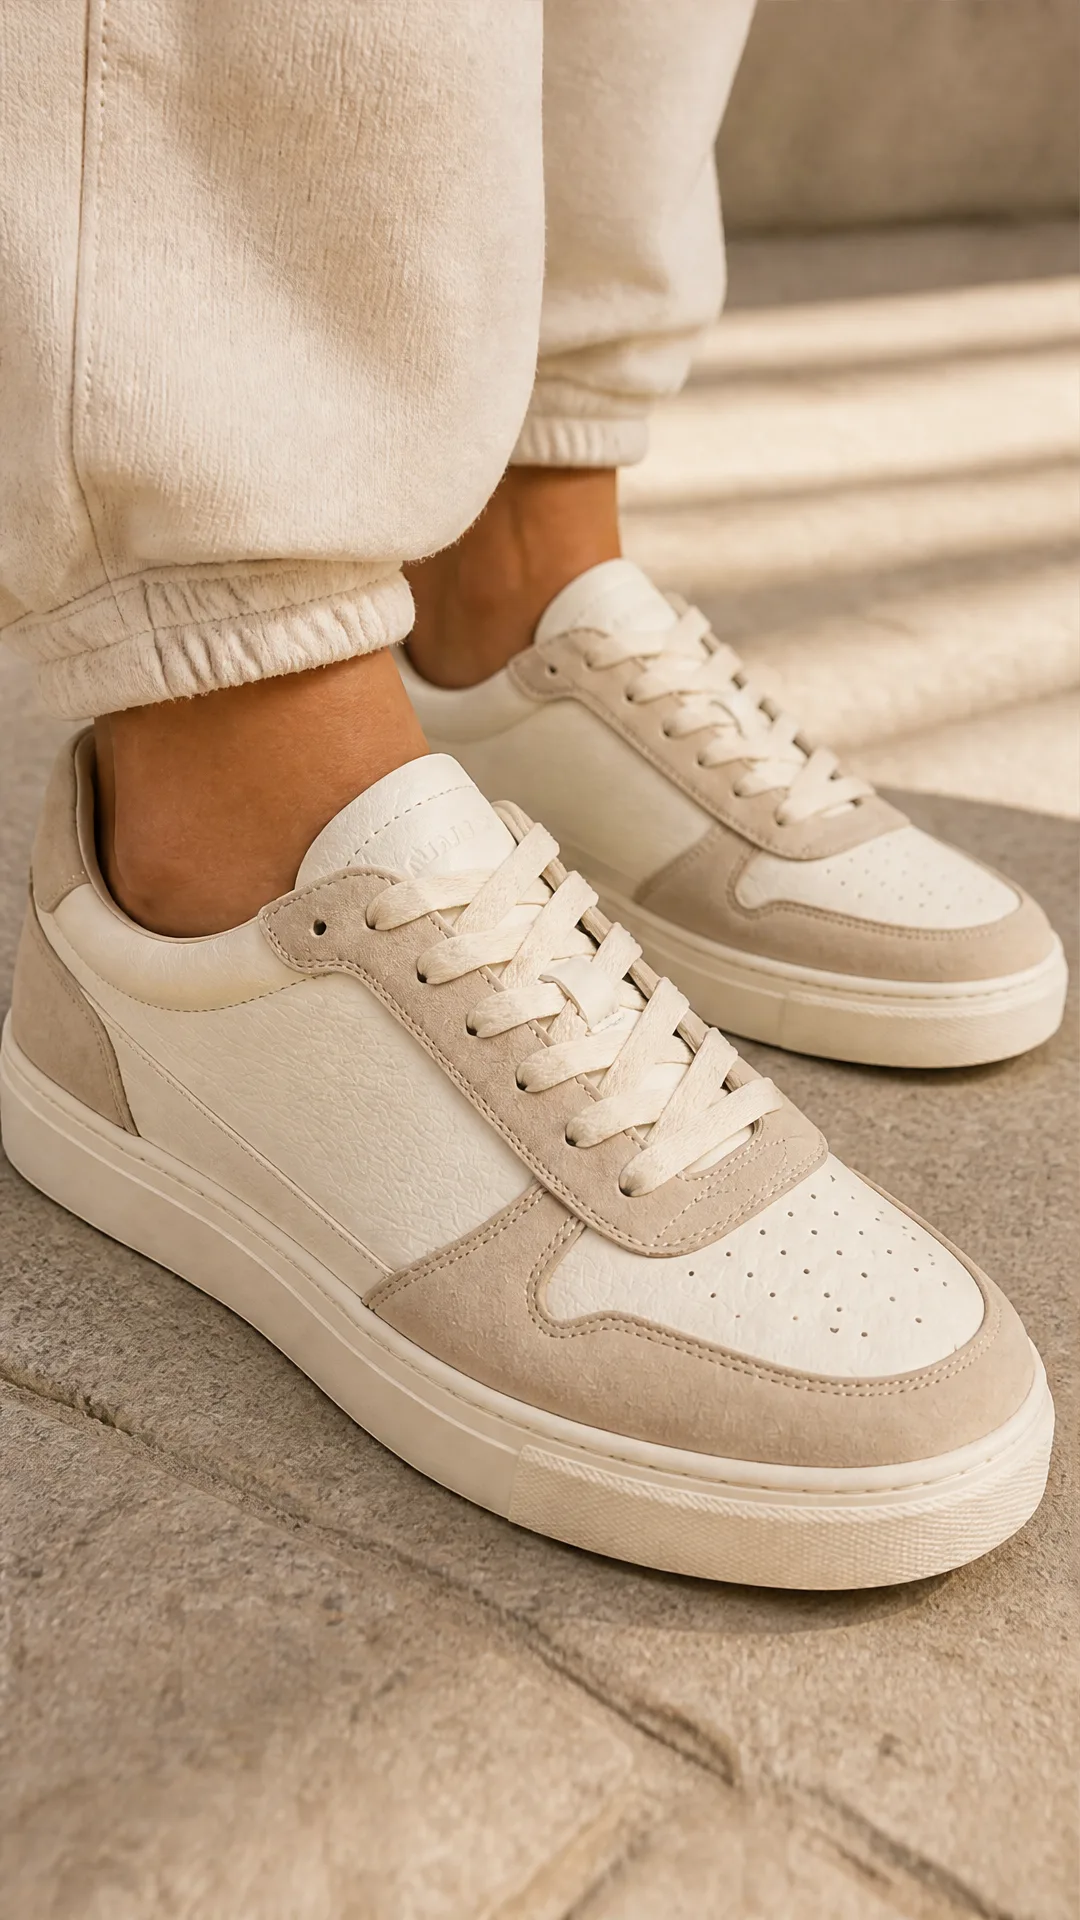
Générateur IA de photos produit de sneakers
Générez des photos produit de sneakers à partir d'une seule image de chaussure : une grille 2 × 2 et quatre visuels recadrés (plan large, plan moyen, gros plan, angle créatif), en mode porté ou produit seul, pour vos fiches e-commerce, marketplaces et publicités.
Questions fréquentes
Que fait le Générateur d’image suivante ?
Il part d’une image de départ et d’une brève description de ce qui se passe ensuite, puis retouche l’original pour produire une nouvelle image qui préserve l’éclairage, le style et la composition de la scène tout en appliquant le changement demandé.
Comment la continuité de scène est-elle assurée ?
Un LLM structure votre note en un prompt ciblé qui verrouille ce qui doit rester identique (éclairage, décor, style, caméra) et ne modifie que les éléments demandés (action, pose, position, expression ou objets ajoutés). Le modèle image-vers-image applique ensuite ces retouches à l’image d’origine.
Puis-je ajouter des images de référence pour de nouveaux éléments ?
Oui. Fournissez des images de référence facultatives (accessoires, bijoux, écrans d’interface…). Le système décrit brièvement chaque référence et la façon dont elle apparaît ou interagit dans la scène, pour garantir la fidélité du résultat.
Ai-je besoin d’un masque ?
Non. Le template est conçu pour des retouches guidées par le prompt, sans masque. Si vous avez besoin d’un contrôle strict, vous pouvez fournir un masque pour ne modifier que les zones sélectionnées et laisser le reste intact.
Fonctionne-t-il sur plusieurs images à la suite ?
Oui. Générez une image, puis réinjectez-la comme nouvelle image de départ. En itérant cette boucle, vous construisez des storyboards, des séquences produit pas à pas ou des carrousels sociaux à la continuité stable.
Quels modèles utilise-t-il ?
Il utilise un LLM pour rédiger un prompt concis et sûr pour la retouche, ainsi qu’un modèle image-vers-image (en mode édition) pour produire l’image suivante, en privilégiant la cohérence plutôt qu’une génération de zéro.
Quelles entrées sont requises ?
Il vous faut une image de départ et une brève description de ce qui se passe ensuite. Les images de référence sont facultatives, mais recommandées pour les éléments nouveaux ou spécifiques (accessoires, objets, interfaces).
Quel est le format de sortie ?
L’URL d’une image retouchée, adaptée aux aperçus, aux planches et aux pipelines en aval. La résolution peut être calée automatiquement sur celle de la source ou choisie parmi des préréglages, selon le modèle.
Des conseils pour de meilleurs résultats ?
Ne décrivez que l’écart par rapport à l’image précédente, employez des verbes forts (« lève la main vers l’oreille »), précisez les changements de pose ou de position, verrouillez ce qui doit rester inchangé, et joignez des références pour tout nouvel objet ou détail vestimentaire.
Peut-il générer une image à partir de texte seul ?
Ce template se concentre sur la retouche pour la continuité et nécessite une image de départ. Pour une création à partir de texte seul, utilisez d’abord un template de génération texte-vers-image, puis poursuivez la séquence ici.
Qu’est-ce qu’AI-FLOW et comment peut-il m’aider ?
AI-FLOW est une plateforme d’IA tout-en-un qui vous permet de créer, d’intégrer et d’automatiser des workflows alimentés par l’IA grâce à une interface intuitive en glisser-déposer. Débutant ou expert, vous pouvez combiner plusieurs modèles d’IA pour créer des solutions innovantes sans écrire de code.
Un essai gratuit est-il disponible ?
Oui, AI-FLOW propose un essai gratuit pour commencer. Vous pouvez ensuite acheter des crédits selon vos besoins, sans abonnement ni engagement à long terme.
Puis-je intégrer mes clés API OpenAI, Replicate et d’autres fournisseurs dans la version Cloud d’AI-FLOW ?
Oui, vous pouvez facilement intégrer vos propres clés API à AI-FLOW. Les nœuds associés utiliseront alors votre clé, ce qui réduit considérablement votre consommation de crédits sur la plateforme.